How to switch from Android to iPhone
This step-by-step guide will help you get all your Android content onto your new iPhone easily.
The days when migrating from an Android device to an Apple iPhone was characterized by frustration, complexity, and lost data are for the most part behind us. Which means when you’re ready to make the leap to the Apple ecosystem, as many are, the process should be straightforward — and even easier if you follow this guide.
(In case you’re looking to move the other way, check out our iPhone to Android switching guide here.)
There’s an app for that: Move to iOS
Apple has created Move to iOS, an app to soothe the pain when moving to an iPhone. The app is available in the Google Play Store and automates much of the migration process for you.
 Apple
Apple
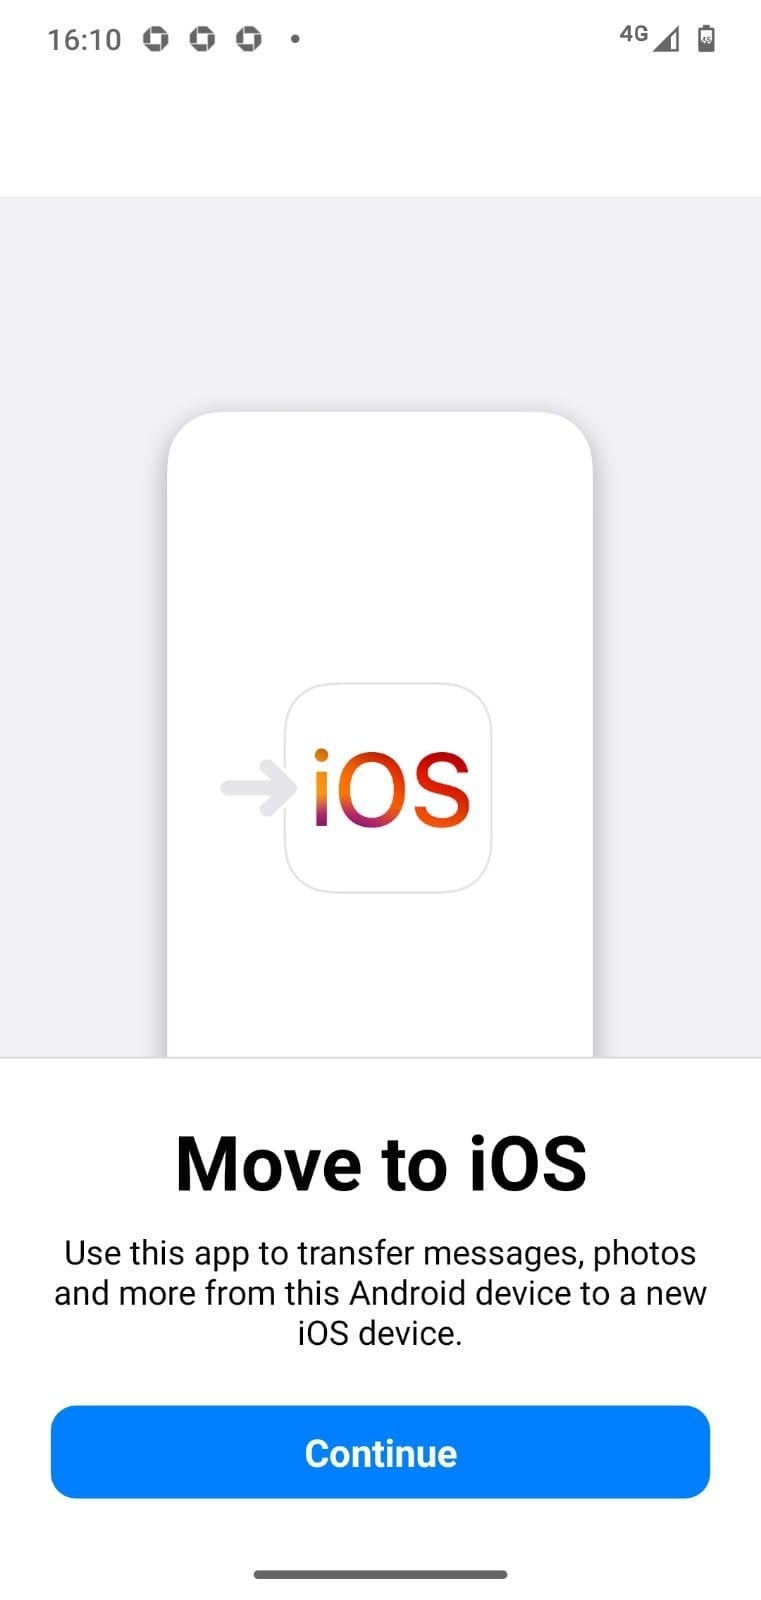
The Move to iOS app makes it easy to transfer data and apps from an Android device to an Apple iPhone.
Specifically, what the app does is help move your contacts, message history, photos, albums, videos, bookmarks, schedule, Google/mail account, and accessibility and display settings to your new device. It does not move music, books, or PDFs, which you must transfer manually, as explained below. It’s also essential that you take note of all your passwords (or begin using a password manager such as 1Password), as those are not carried across by this app.
Security is important. To keep your information safe during the migration, everything is transferred across a temporary, secure, private Wi-Fi network the app creates between the two phones; that means your information does not need to be uploaded or downloaded from the cloud.
The bottom line? Once you’ve purchased your new Apple device, download Move to iOS to your Android handset before you proceed. (If you don’t use the app, you could lose information, since doing this manually can be time-consuming and tedious. That’s why Apple made the app.) Don’t begin setting up your iPhone until you’ve installed the app and are ready to begin this process. (Too late? See “What to do if something goes wrong” below.)
Dos and don’ts when moving from Android to iOS
Make sure you have enough storage on your iPhone to hold all the data you’re moving over. If you try to transfer more data than the iPhone can hold, the process will fail. One way around this is to upload photos and videos to an online storage service or computer, then add them your collection later.
If you receive a phone call or use another app on your Android device before the transfer finishes, the whole operation will fail. You can protect against this by switching off your cellular data connection on the Android device before you start.
You should also turn off apps or settings that might affect your Wi-Fi connection on the Android. You can also find Wi-Fi in Settings on your Android, touch and hold each known network, and forget the network.
It’s smart to back up your old device before you begin. You can buy 100GB of Google One space for $2/month, for extra peace of mind while you transfer your data. You can cancel the subscription once you’re sure all the important items have been moved successfully.
Google service users can grab a copy of all their data from takeout.google.com. Here you can download everything the company keeps about you. You might need to use a computer and external drive to do so, as you may find the company has quietly kept an enormous volume of data related to you. But it is a good way to make sure you keep all your photos and videos to upload independently to iCloud.
Getting the Android-to-iPhone migration started
When you’re ready to migrate, grab your Android device, reach for that new-to-you iPhone, connect both devices to power, and check that you have Wi-Fi enabled on the old smartphone.
This is how to use the app:
- Keep both devices close together, open your new iPhone and begin the setup process, which you should follow until you come to the Quick Start screen.
- On that screen, tap Set Up Manually and follow the instructions given.
- You may need to activate your eSIM at this point.
- The Set Up Manually screen provides you with a series of different options, but the one you need is Move Data from Android.
- Now launch the Move to iOS app on your Android device.
- Once you launch the app and agree to the endless terms and conditions, you should see a Move to Android screen appear on the iPhone. (Note: You do need to allow the app to access the device’s location for the purposes of this transfer.)
- Tap Continue and after a short delay you’ll see a 10- or six-digit code appear on your iPhone’s screen. An input box for that code should now be available in Move to iOS on your Android.
- You might see a “weak internet connection” alert on your Android, but Apple says you can ignore it — just enter the code that appears on your iPhone into the input box.
- If you haven’t already, you should turn off any apps or settings that could affect your Wi-Fi connection. (Apple cites Smart Network Switch as one example.)
- The code authorizes your iPhone to create a temporary Wi-Fi network between the two devices, and your Android will ask to let it Connect to the Network. Once you do so, the Transfer Data screen will become visible on the device.
- At this point, select the items you want to transfer from the list shown on your Android. Tap Continue.
As long as you perform all these steps correctly, all your data should begin to transfer.
How long will an Android-to-iPhone migration take?
With the transfer under way, go grab a coffee, set up your personal Mastodon server, or do whatever you usually do when you need to keep an eye on your technology doing its thing. The important thing is to keep your devices close together and connected to power, as the transfer can take some time.
 Apple
Apple
When you’re ready to move data from your Android to your iPhone, launch the Move to iOS app on your old device.
As a very inaccurate rule of thumb, you can expect around 10 minutes for each 500MB of data being moved. In the case of large photo and video collections, that time soon mounts up.
The key device to monitor during this process is the iPhone — you should see a loading bar on its screen as data is transferred. It’s important to stress that the iPhone calls the shots in this process, so even if your old Android tells you transfer is complete, the process isn’t truly complete until that iPhone loading bar tells you so.
Eventually, the loading bar will finish on your new iOS device. When it does, tap Done on your outgoing Android and tap Continue on your Apple hardware. You’ll now go through the rest of the iPhone setup process, including creating or entering an Apple ID, enabling Touch ID or Face ID, and being pestered to set up Apple Pay.
With the eSIM enabled (see “How to activate your eSIM” below) and most of your data in place, your iPhone is now completely usable, but you will still want to transfer music, books, and PDFs. You’ll also want to ensure your app collection is as complete as possible.
Where do you get iOS apps?
 Apple
Apple
Since Android apps don’t automatically transfer to iOS, you’ll need to get them from Apple’s App Store.
Once you, as an Android refugee, become accustomed to finding apps using the search bar, Home Screen, or App Drawer, you’ll want to install all the ones you use.
In general, most popular apps are available for both Android and iOS systems. However, apps don’t automatically transfer when you migrate; you must find and download them yourself. In most cases it’s simple: download the relevant app from Apple’s App Store and enter the account details you used on your Android device to get up and running.
You might find it necessary to ensure that you’ve saved any recent changes made in games and creative apps on your Android before beginning your journey. Games and other apps that use an account to log in probably save your in-game status, so you should regain access to that once you download the app and log in on your iPhone.
How to move music, books, and PDFs from Android to iOS
You can use the Android File Transfer app on a Mac or PC to download music, books, or PDFs from your Android phone to the computer — just connect the device and use the app. You can then add these items to iTunes and sync them with your iPhone. Just connect the iPhone to the computer with a USB cable and use iTunes (Windows) or the Finder (Mac) to begin dropping content onto the device. (Another approach is to upload data to iCloud Drive or an external storage service such as Box or Dropbox, then download the files to your new device when you require it.)
The process for books and PDFs is similar. If you use a cross-platform online service such as Kindle or Google Play Books, then it should be as simple as installing the relevant app and logging in. Otherwise, connect your Android device to your computer and search for your books and PDFs in the Documents folder. (On a Mac, you can use Android File Transfer for this.) Drag these items to a folder on your computer, and then drag items into the Books app on a Mac, or to iTunes if you use a PC.
Of course, if you use Netflix, Prime, or even Apple TV+ ( coming soon) on your Android device, then all you need to do is install the appropriate app and log in.
How to move documents from Android to iOS
It’s likely you’re already using an online service for many of the documents you keep on your Android device. In most cases, you just need to download the relevant app and log in to your account to access your content. Apple’s Files app also supports multiple such services, giving you an elegant space in which to handle docs. To set this up, open Files on the iPhone. Once it’s open, tap Browse > More Locations and turn on the service you use. In the future, you’ll be able to access those items in Files, as well as via the online service’s app.
This works for most online storage services, though enterprise users will certainly need to work with tech support to enable a new device.
That leaves any documents or files stored solely on your Android device. Once again, the secret is to use Android File Transfer on a Mac or iTunes to transfer the item, or to email it to yourself, or upload it to a cloud service you can access from the new device.
How to manually transfer contacts and more from Android to iOS
 Apple
Apple
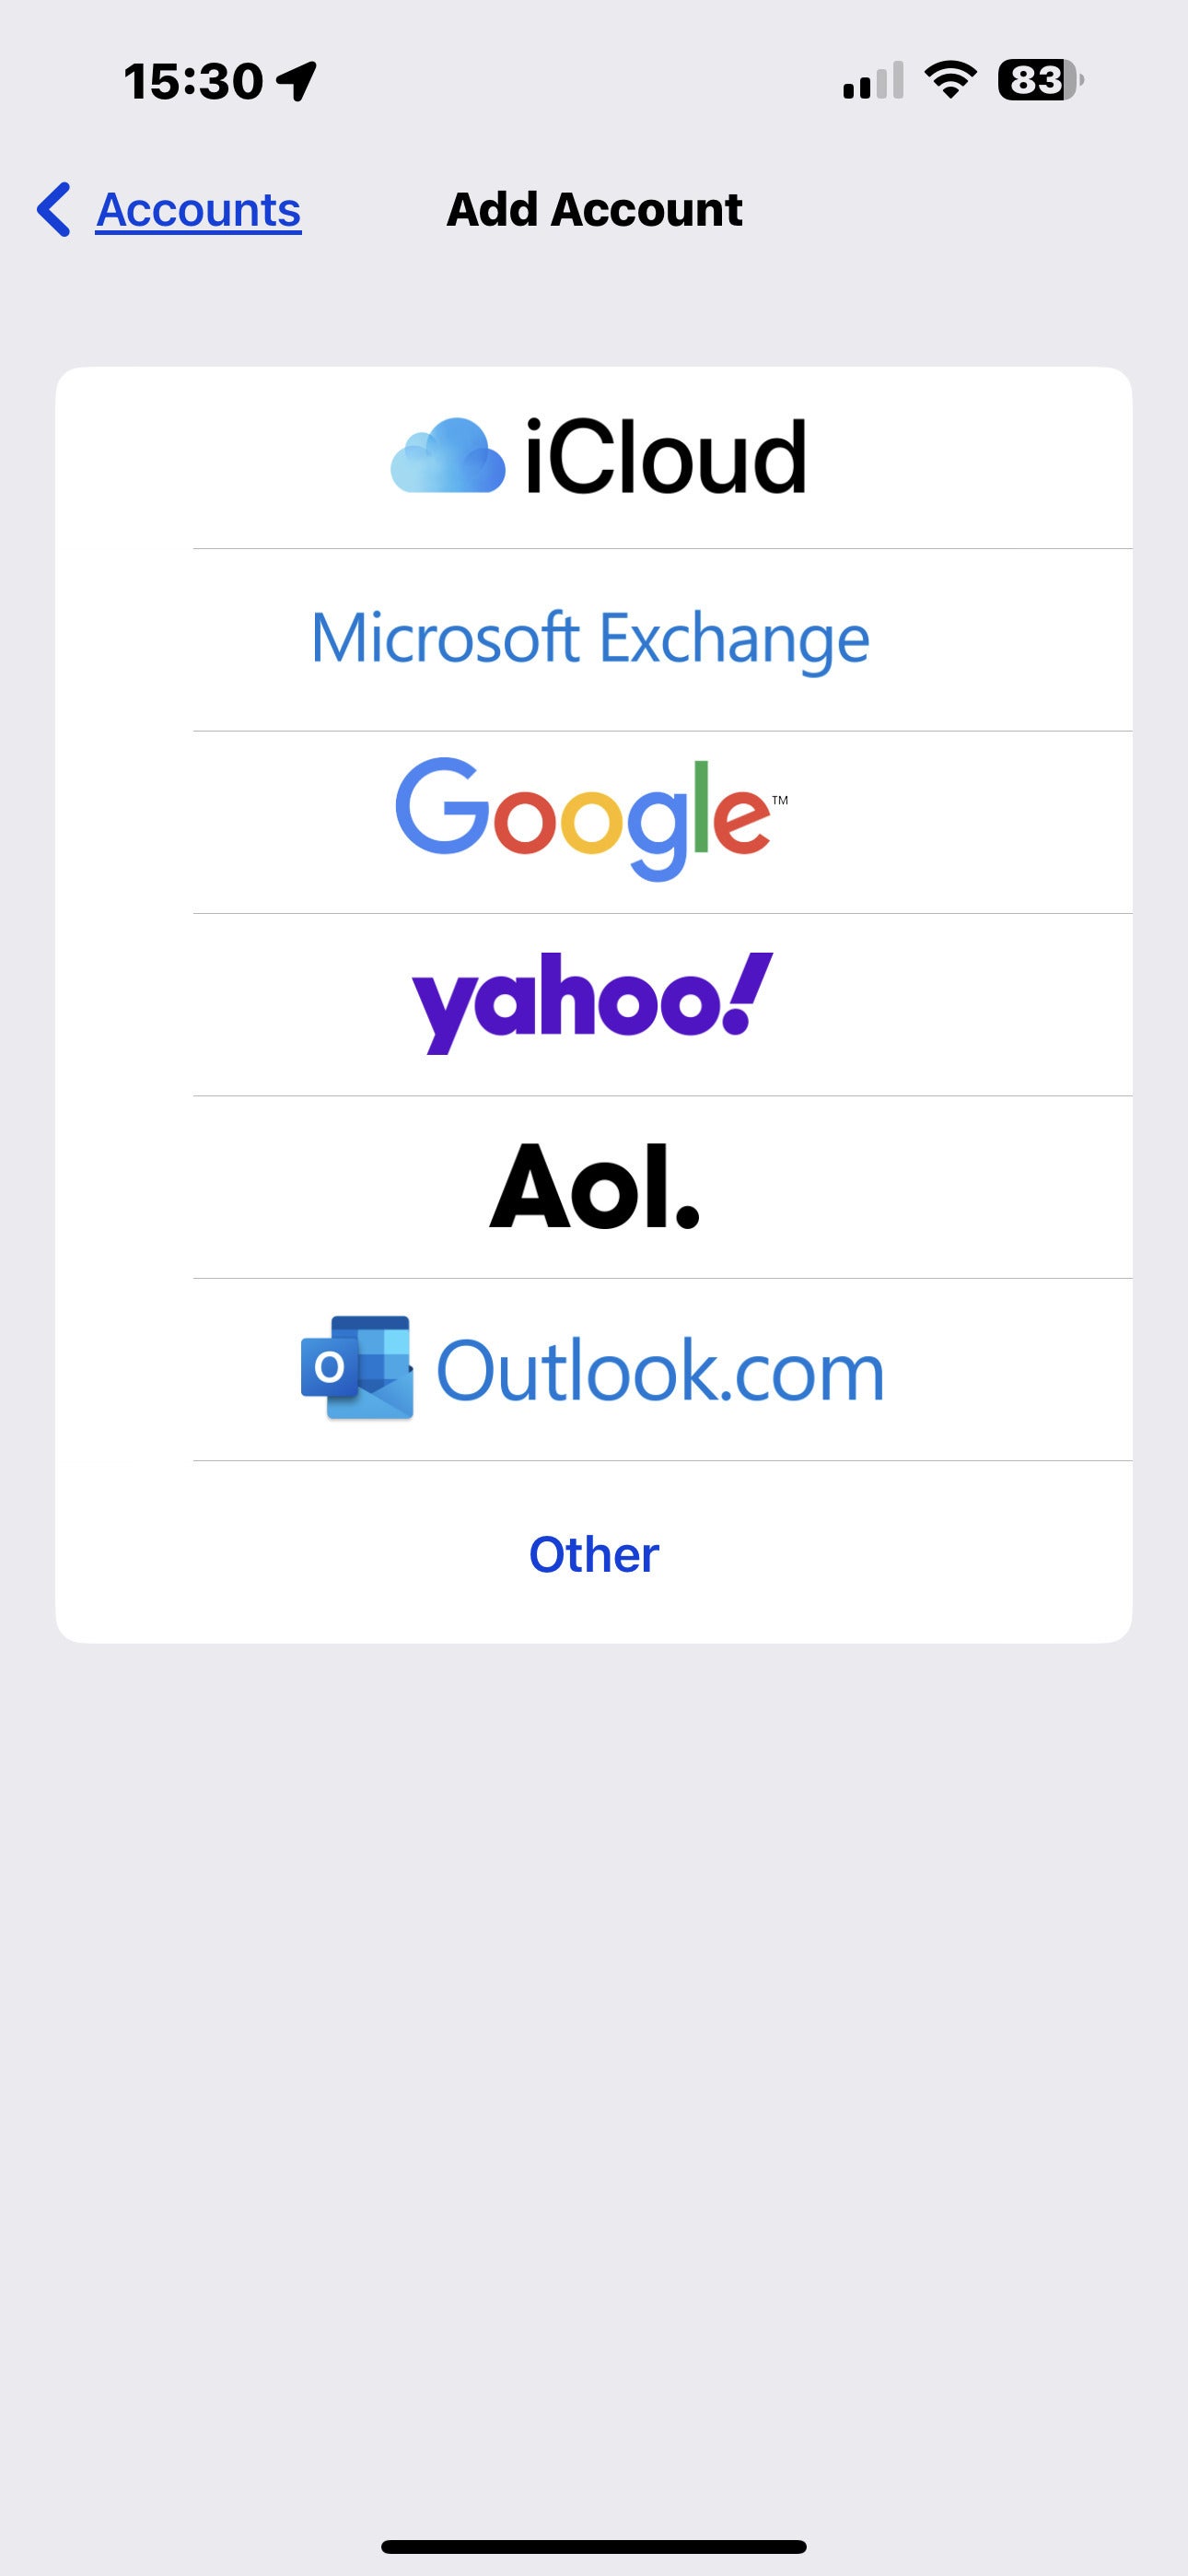
The easiest way to manually transfer contacts is to add a Gmail account with contacts and reminders to your iPhone.
You can manually transfer contacts. At its most basic, the easiest way to do this is to add a Gmail account with contacts and reminders to your iPhone. Open Settings > Mail > Accounts and tap Add Account to do so.
This will also work with any Google account or service. When you set up the new account, you can also choose to sync Contacts, Calendars, and Notes; that will bring your Google “stuff” into the equivalent apps on iOS.
Google apps and services work on iOS
If you’ve become accustomed to Android, you likely use Google’s own apps and services, including Chrome, Gmail, Google Drive, and Maps. The good news: all these apps are also available for iOS — just download them, enter your Google Account details and password, and you’ll be able to continue using them as if you never migrated.
Can third-party apps handle the Android-to-iOS process?
There are numerous alternative apps to help you migrate to iOS, with one of the most widely used called AnyTrans. The downside to some of these options is that the user will be exposed to numerous ads. And the use of unsanctioned third-party apps from smaller developers could inadvertently make any company data you need to transfer vulnerable to exfiltration. That said, most of these apps will automate many of the more complex data transfers.
What to do if something goes wrong
If the data transfer fails, you should restart both devices and try again. If you’ve begun setup on your iPhone, you’ll probably need to erase your iPhone to kick the process into starting over. Reminder: you need as much storage space on your iPhone as on your old Android device; trying to transfer more data than the iPhone can hold will cause the process to fail.
How to activate your eSIM (if needed)
Apple is in the process of migrating most iPhones to eSIM, a non-physical digital SIM that replaces physical cards. iPhones can have multiple eSIMs installed on the device and can use up to two of these at once.
Setting up the eSIM usually just requires you to start up the device, once the eSIM is installed, or transfer the eSIM to the device. Apple is ahead of the curve in eSIM adoption, so Android users will likely need to contact their network provider to transfer the number using eSIM Carrier Activation or a QR code. (This is explained in additional detail and for multiple usage scenarios in this Apple tech note.)
Hand-picked tips for new Android-to-iPhone switchers
Get to the Home screen: Swipe a finger up from the bottom of the display to get to the Home screen.
How to search: To search, swipe down from the middle of the screen.
Control Center: The Apple equivalent of Android’s Quick Action menu is Control Center. To access this, just swipe down from the top right corner.
Customizing the screen: You have limited customization choices on iPhone, but you can choose widgets when you press and hold the Home screen. You can also set the wallpaper ( Settings > Wallpaper > Choose Wallpaper). There, you can select stock images Apple supplies or your own image.
Simpler screenshots: On Android, taking a screenshot usually means you must press a combination of buttons on the side of the device. It’s the same on an iPhone, though the combination varies depending on which model you have. But there’s a simple trick to make the process easy, a feature called Back Tap. Open Settings > Accessibility > Touch and tap Back Tap. You’ll find two options, Double and Triple Tap. Set one of these to Screenshot, and the other to one of the many other choices there — I like to set it to Control Center. Once you master the tap it’s the swiftest way to grab a screenshot.
Back to the top: Reading a long document or web page and want to zoom back to the top? Just tap the clock at the top of the display to zip back immediately.
Apps and calls: Yes, you can use an app during a call, just swipe up to reach the Home page and access the app. To return to the call, just tap the green icon.
Blue and green SMS messages: When you use iMessage to handle incoming messages, you’ll soon see that some communications show up blue, while others are green. Blue shows that messages are being transferred (encrypted) between iPhone iMessage users, while green messages indicate that SMS or MMS protocols are in use.
In case you want to go back to Android: If you make the switch from Android to iPhone and then later decide you want to go back, you’ll want to rely on our guide to moving from iPhone to Android.
Assuming you stick with the iPhone, here are a few more tips to get the most from your new device:
- How to set up and use Focus modes on iOS 16
- How to make Spotlight work for you
- How to use widgets on iPad and iPhone
- 16+ iPhone tips to get things done faster
- 10+ tips for better iPhone battery life
- 8+ useful iPhone tips for better productivity
- 10 helpful iPhone tips to use at work
- Make the most of the Contacts widget for iPhones and iPads
- 8+ useful tips for Notes on iPhone, iPad, Mac